The rising interest in natural skincare has led many to explore homemade beauty products, including the Vitamin C Serum. This serum is gaining popularity for its potential skin benefits. Making your own serum can be a rewarding experience, allowing you to customize it to suit your skin’s needs.
Before you start creating your Vitamin C Serum at home, it’s essential to understand how to do it effectively. Customizing your skincare routine can not only lead to healthier skin but also a greater appreciation for the products you use daily.
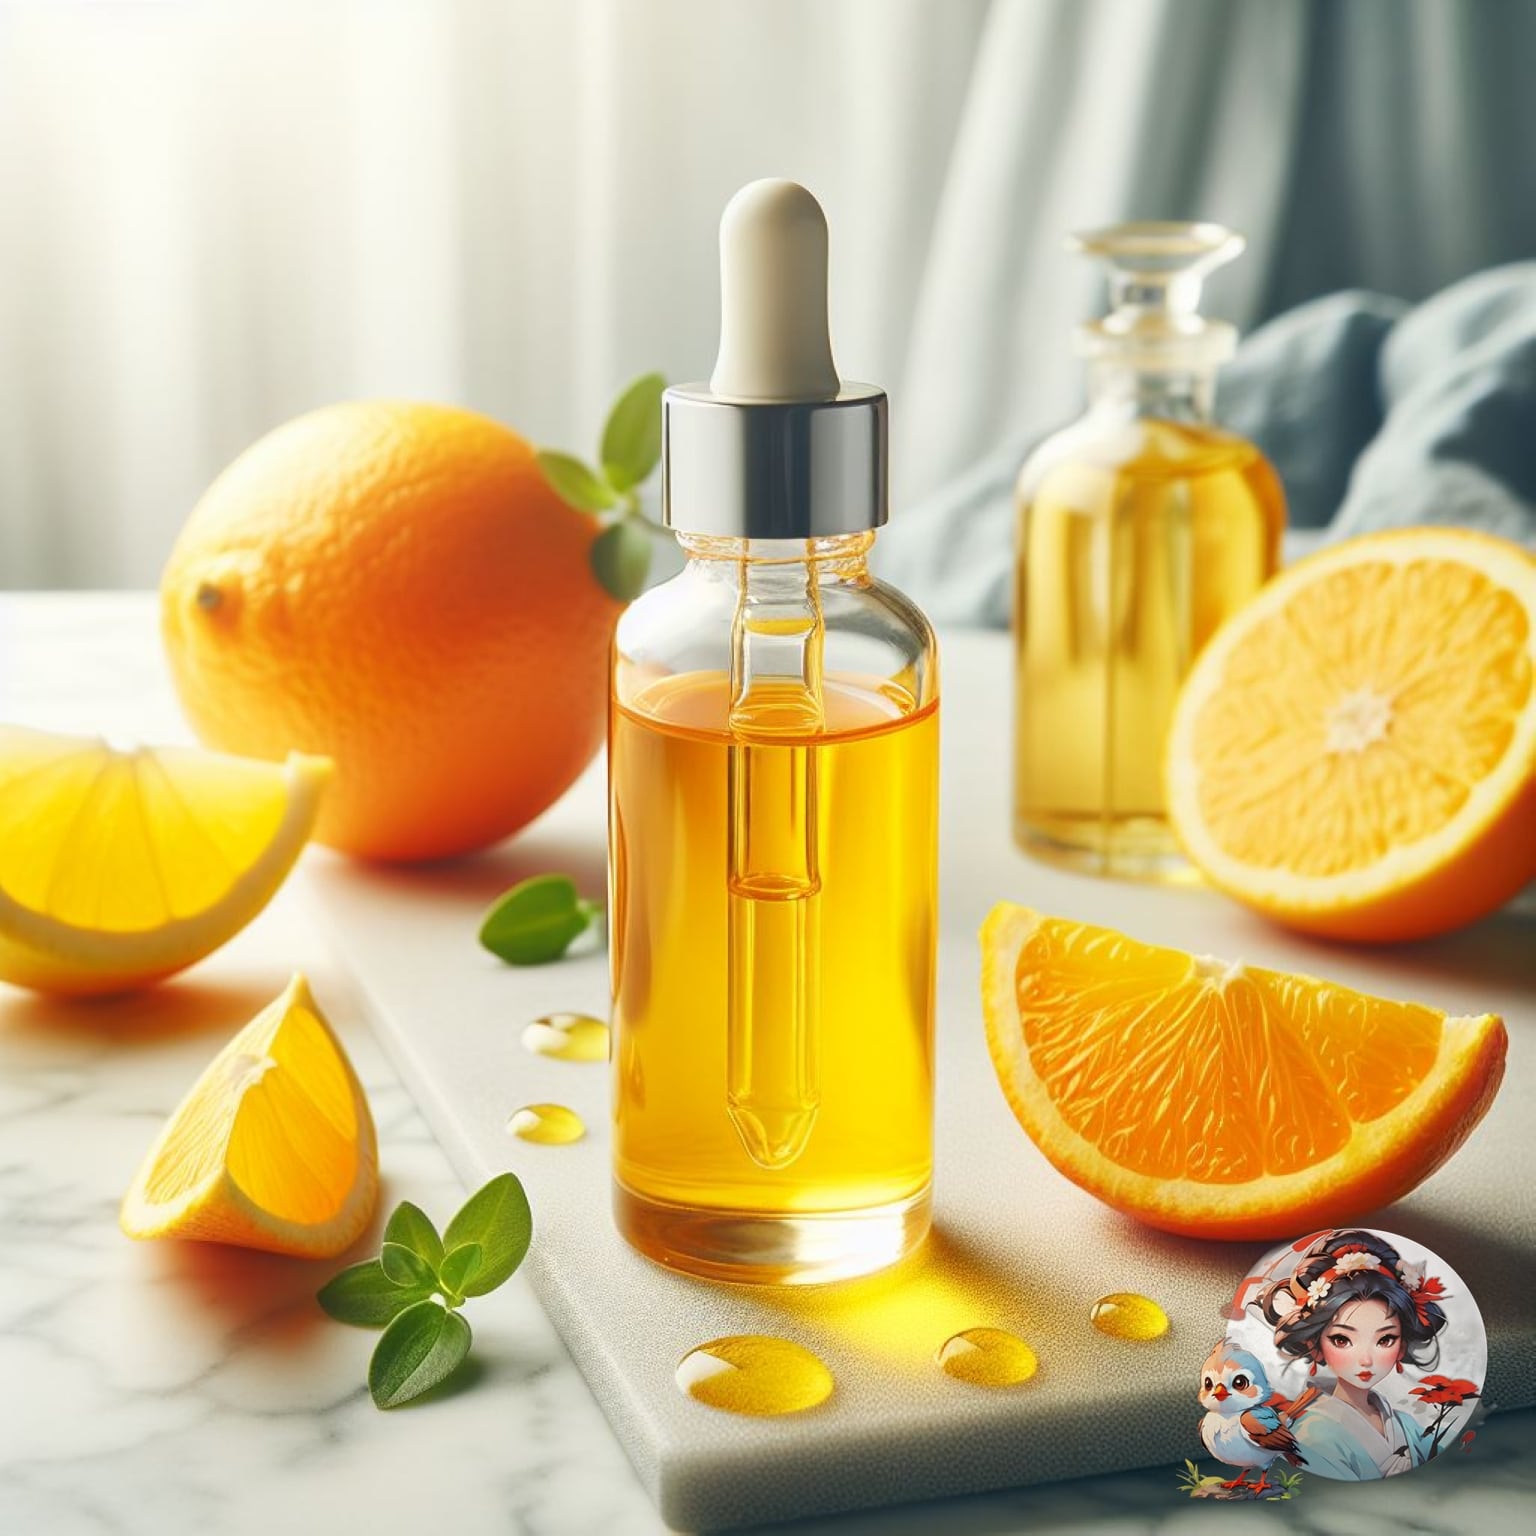
Vitamin C serum is well-known for its antioxidant properties, which help brighten the skin, reduce hyperpigmentation, and shield against environmental damage. The anti-aging benefits of vitamin C boost collagen production, leading to firmer and more elastic skin. This essential vitamin plays a key role in achieving a healthy glow by fighting off free radicals that cause dullness and uneven skin tone. Using vitamin C serum regularly can lead to a more uniform skin tone by slowing down melanin production and lightening dark spots.
By adding this serum to your skincare routine, you can enjoy its ability to enhance skin radiance, improve texture, and address signs of aging. Vitamin C’s contribution to collagen synthesis is vital for maintaining youthful skin, making it a valuable component of any skincare regimen focused on achieving a vibrant and rejuvenated complexion.
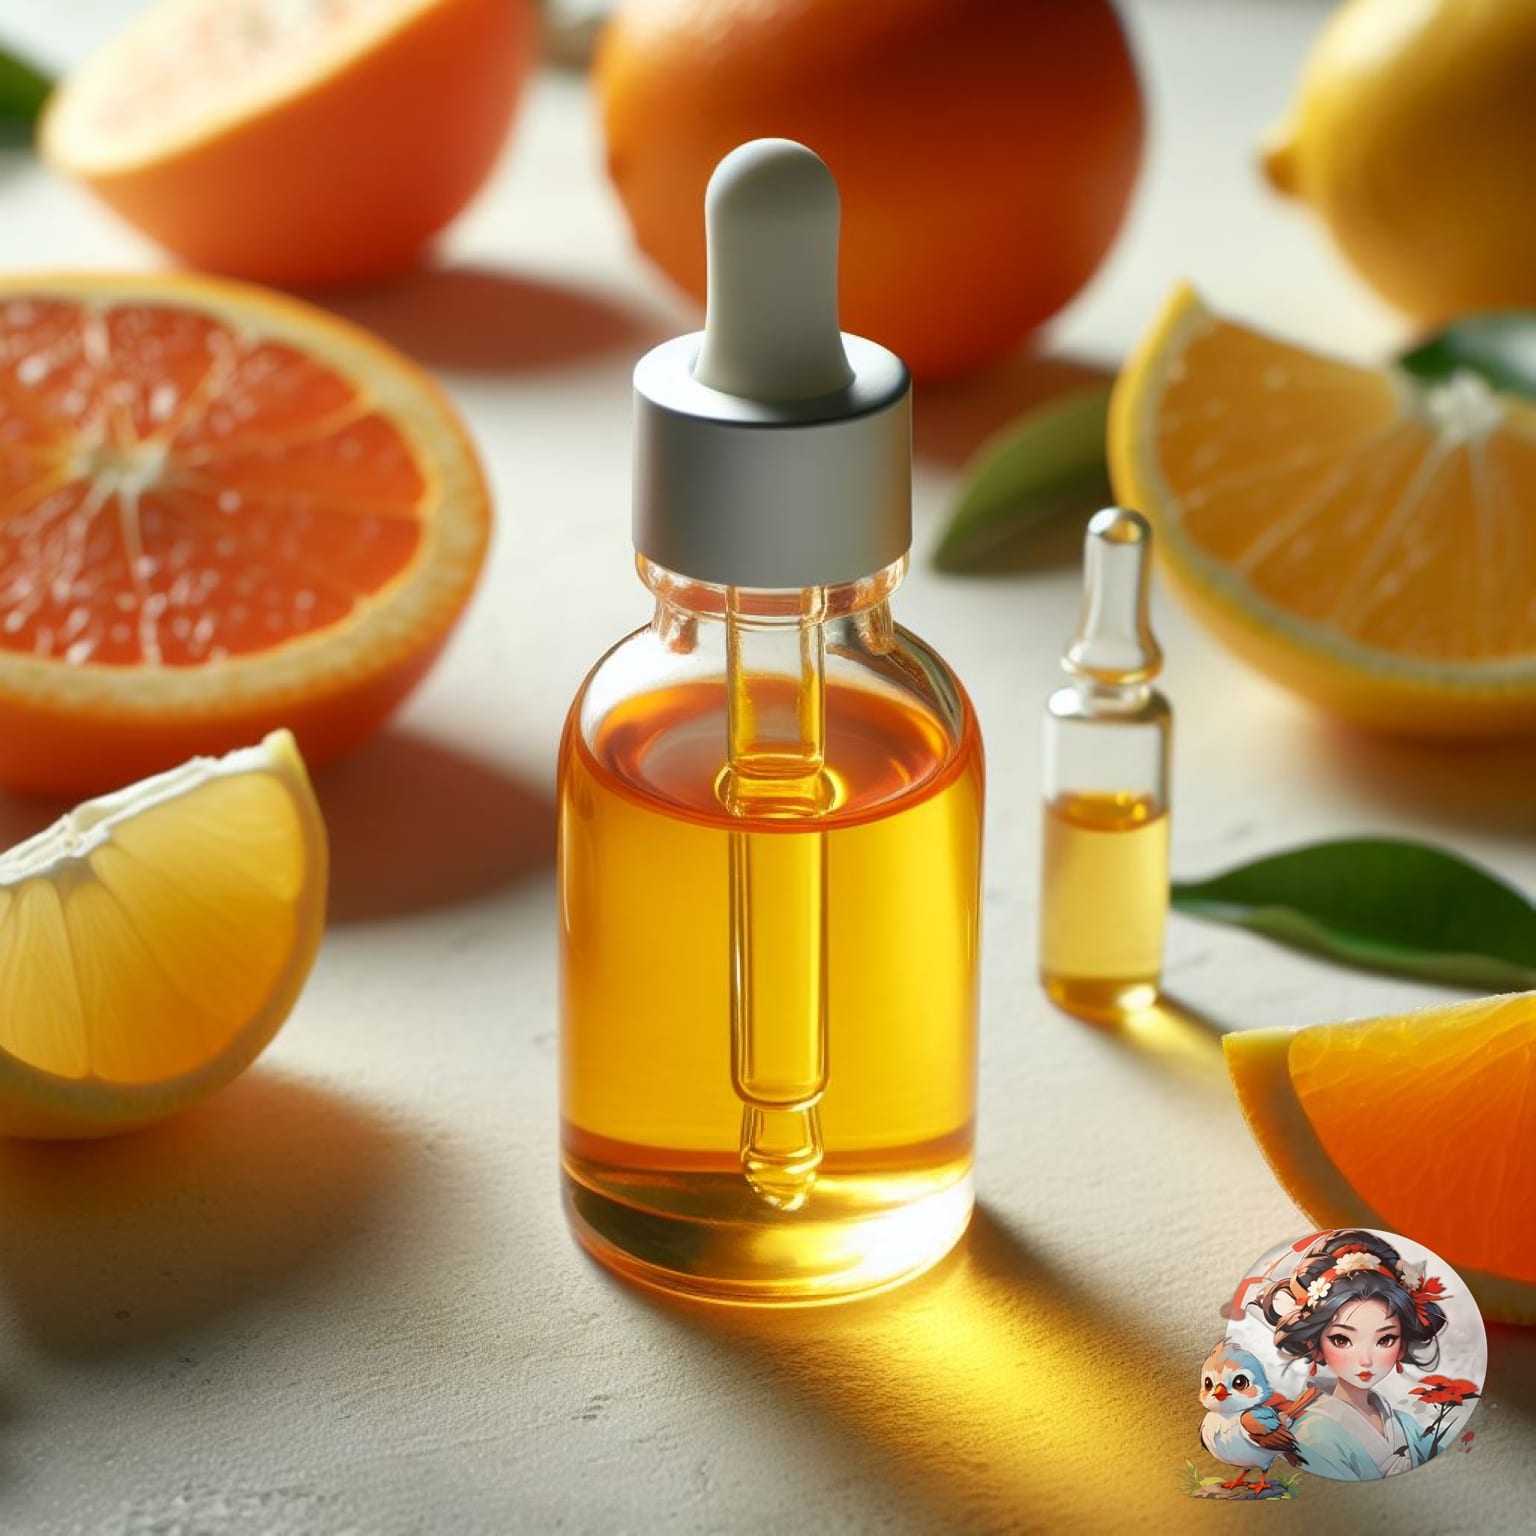
To make your own serum at home, gather the key ingredients listed in the recipe for best results. Instead of avocado oil, you can use alternatives like jojoba, almond, or rosehip oil to avoid any orange tint that avocado oil may give. Adding hyaluronic acid to your serum can boost its effectiveness by providing extra hydration and plumping benefits for your skin. Be sure to measure your ingredients precisely using a scale to maintain consistency and potency.
The quality of the ingredients you use and how accurately you follow the recipe can affect the serum’s effectiveness. If your serum looks different in color, it could be due to oxidation or the type of oil you used, so you might need to make some adjustments. Trying out different oils and ingredient combinations can help you achieve the desired consistency and appearance for your serum.
When making your DIY serum at home, start by gathering all the ingredients and equipment you need in a clean workspace. Make sure to weigh and measure each ingredient accurately to maintain the effectiveness of the serum. Choose ingredients based on your skin type and concerns, and mix them thoroughly following the recommended ratios for a well-balanced serum.
Avoid common DIY mistakes like using expired ingredients or not sterilizing your tools properly. Keep an eye on the serum’s expiration date, especially for natural products with a shorter shelf life. Once your serum is ready, learn the correct application techniques based on your skin type to maximize its benefits.
Stay tuned for the upcoming tips on how to store and use your serum effectively to get the most out of your DIY creation. Remember, taking care in the preparation and application of your serum will help you achieve the results you desire for your skin.
For the best results, store your DIY serum in a cool, dark place away from direct sunlight and extreme temperatures. This helps maintain its effectiveness by preventing oxidation and preserving its beneficial properties. Remember, a little bit of serum goes a long way, so start with a small amount and gently massage it into your skin using upward motions.
The shelf life of your homemade serum can vary based on the ingredients and storage conditions. It’s generally recommended to use it within a few weeks to a month for optimal results. Trying out different ingredient combinations can help you customize the serum for your skin type. Keep an eye out for any redness or irritation, and stop using the serum if you experience any negative reactions.
When incorporating the serum into your skincare routine, consider layering it underneath lighter products and on top of heavier ones to ensure better absorption. By following these tips and paying attention to how your skin responds, you can make the most of your DIY serum for healthy, glowing skin.
When making your DIY Vitamin C Serum, the color may come from avocado oil, not oxidation. Avocado oil can give a yellowish tint, which is normal. If you see a big color change or notice a strange smell, consider using a different oil. To keep your serum fresh, watch for dark yellow or brown colors that signal oxidation. Store it in a cool, dark place or in the fridge to make it last longer.

With hyaluronic acid, be precise with your measurements. A good ratio could be 1 gram of vitamin C powder, 1.5 grams of hyaluronic acid, and 30 grams of aloe vera gel. Adjust the amounts based on your skin’s needs and how thick you want the serum to be.